Follow Up Post
 Hi, generally I schedule my posts for Monday’s. However, this week I wanted to have a post with a follow up to a few of my ongoing goals. And in doing so, I will be able to provide a photography tip I discovered just this weekend and would love sharing with you! Let’s begin with the photography tip.
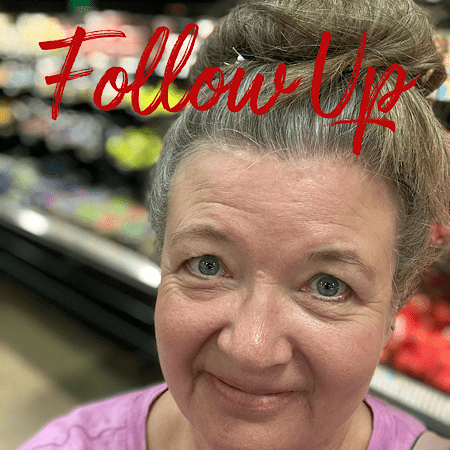
It was while working with the picture to the left. It could be the image at the top if you are reading this on your phone. It is my selfie taken in the grocery store! 🙂
 The following screen shots were taken on my iPhone 14 ProMax. The Portrait Mode is available on the iPhone 11 and up. I am not sure about models before the 11. I recommend the Portrait Mode in your camera for selfies or when your subject is two to eight feet in front of you. The Portrait Mode is available in the built-in camera app. Once you have the camera open and the Portrait Mode selected, frame the subject to take the shot. When the camera screen displays Natural Light, you can then take the picture.
Notice the background on both pictures. In Portrait Mode, the background is blurred. Looks pretty nice doesn’t it! The Portrait Mode is one way to emphasize the subject. This is especially handy when your background is busy or unattractive. There is more to the photography tip I wanted to share.
Let’s say after you take the picture, you decide you do want to see more details of the background. You can change the background to see more detail. Yes, you heard me correctly. The background can be edited after the image was taken. Let me show you how.
Open the picture you want to see more details in the background. Click the Edit button.
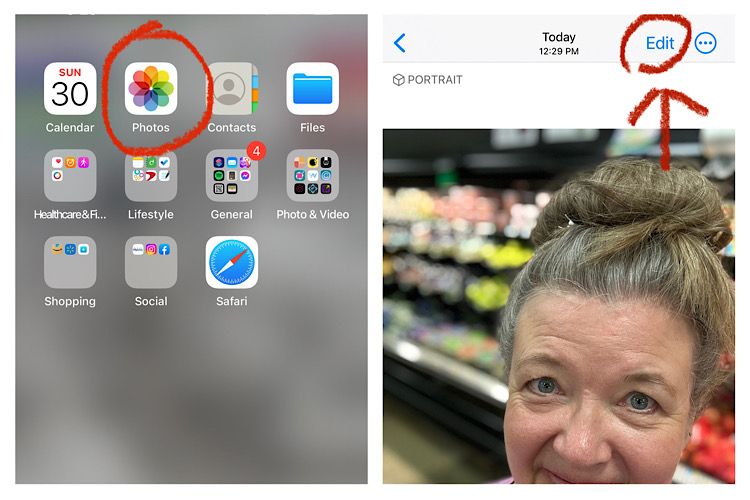
At the top center you will see the word Portrait that is highlighted yellow. Click it. When it is no longer highlighted, the background will not be blurred. Click the word Portrait again, and the background goes back to blurred. Pretty nifty!

Remember the rule of thirds as well. Both of these tips will make your images look better!
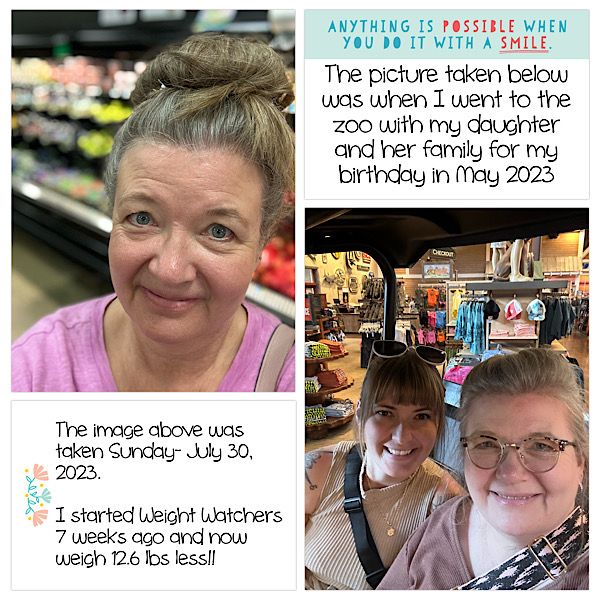
Ok, now for the follow up 🙂 This picture is the whole reason for the post today! I have now been an active Weight Watchers member for seven weeks. And yes, I am loosing weight, yippee! However no one seems to have noticed. I notice small changes like today getting in and out of my husband’s truck is easier. My rings seem to be spinning more on my fingers and it is hot outside!
After getting home from the grocery store, I was looking thru some of my past selfies. And lo and behold, I ran across a picture taken just this past May. It was the day I went to the KC Zoo with my daughter and her family. Visit the KC Zoo here!
My very first week, I had signed up for Weight Watchers (WW) in the phone app. The service I selected was the online option. Any classes I wanted to take would require me to upgrade services. And eventually I did just that. The meetings have been very instrumental for me. After seeing the two pictures above side by side, I wonder how much weight I lost that very first week. I never weigh myself at home. My weight was only checked when I went to the doctor and now at my weekly WW meeting. In the post, Looking my Best tells the story of my WW discovery.
And with my WW journey I am successfully implementing #69 of my 101 in 1001 goals, avoid or eat less junk food. That’s a win, win for me!
Loosing weight is not easy. Never has been for me. However, the WW point system and the ability to scan bar codes while at the grocery store makes this process for me easy. I will continue with Weight Watchers and post my progress, good or not good here. I need accountability!
Take Care. Best wishes, Debra
![]()
.